

Welcome to Day 8 of the Holiday Countdown series for 2016! Since the holidays are all about spending time with friends and family, today I wanted to share these easy reindeer treat bag toppers perfect for crafting alongside little ones.

This project requires just a handful of dies or punches and a couple of different shades of gorgeous Stardream Metallic Cardstocks.

Start by die-cutting a large label shape (~5.5" tall) and two small scalloped ovals (~1.125" wide) out of Copper cardstock and score the label shape down the center as shown. Then cut the same scalloped ovals out of Crystal cardstock and two 0.5" circles and one 1" circle out of Onyx cardstock. Finally, use a branch die (or part of a tree) to cut two antlers out of Opal cardstock.

To create the eyelids for your reindeer, simply run the Copper ovals through your die-cutting machine again with the oval die placed over the center as shown.

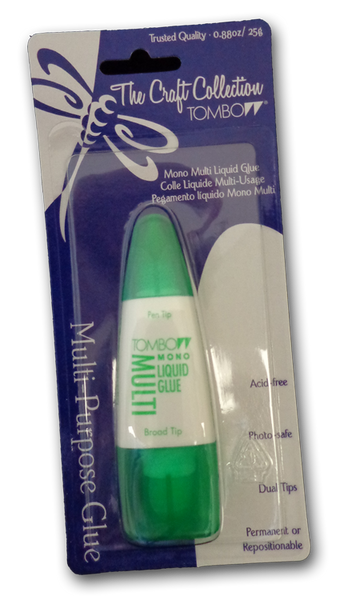
To assemble, glue the small Onyx circles onto the white scalloped ovals with Tombow Mono Multi-purpose Liquid Glue (liquid glue adheres coated cardstocks the best), then place the eyelids on top. Fold the label shape in half and glue the eyes and nose onto the front of your bag topper while gluing the antlers to the back.
Fill your bag with your favorite holiday treats and staple it onto the back of the treat topper so that the smooth side of the staples face outward. Then glue the front of the treat topper down to the front of the bag using glue dots.

You can add a red nose instead, but this little guy reminds me of the dog from the Grinch movies who dresses up like a reindeer, so I kept mine black. And since it's such a cute and simple craft, kids will love putting them together too!
I hope you enjoyed this easy reindeer treat bag topper and thanks so much for stopping by today. You can visit the CutCardStock store to purchase any of the supplies showcased today and remember that Stardream Metallic Cardstocks are on sale this month!
~ Annie
Products used in this project:


No comments
Thank you for visiting the CutCardStock blog! We appreciate your comments.